In 2020-2021, a European thermal imaging OEM halted beta production after 1296 defective units out of 2000 AWG#40 CABLINE-VS 1:1 100mm length micro-coax assemblies failed for high impedance. The drawing showed the part length and connector family, but the wiring definition did not align tightly enough with the customer's impedance test method, so we stopped production, rebuilt the specification and report format with their engineers, and processed 1296 replacement units.
A coaxial cable wiring diagram is a controlled drawing that defines the signal conductor, dielectric, shield, jacket, connector orientation, pin or contact assignment, length datum, and shield termination method for a coaxial cable assembly. For engineers and buyers already preparing an RFQ, the diagram is not a sketch for installers. It is the document that tells the factory how to preserve impedance, avoid shield shorts, and make every assembly testable under the same standard.
TL;DR
- Show center conductor, shield, connector orientation, and length datum on one controlled diagram.
- Call out 50 ohm or 75 ohm impedance before selecting BNC, SMA, FAKRA, MMCX, or micro-coax connectors.
- Define shield termination: 360-degree crimp, drain wire, floating shield, or chassis bond.
- Use IPC-A-620 workmanship evidence with UL-758 wire or cable traceability when applicable.
- Do not rely on continuity alone for RF, camera, sensor, or instrumentation coax builds.
Why a Coaxial Cable Wiring Diagram Changes the Build
This guide is written for hardware engineers, sourcing managers, and NPI buyers who have moved past concept design and need a supplier to quote or build custom coaxial cable assemblies. At this stage, the buying risk is usually hidden in small drawing omissions: the shield is not shown clearly, the connector gender is described from the wrong viewing direction, the cable length has no datum, or the RF test requirement is separated from the wiring diagram.
The role here is senior factory engineering with more than 10 years reviewing cable assembly drawings, RF connector substitutions, crimp terminations, shielded harnesses, overmold exits, and production recovery plans. The objective is practical: make the wiring diagram detailed enough that the supplier can build the same cable you intend to test. The key result is a diagram package that names the cable family, impedance, connector type, pin or contact assignment, shield treatment, length tolerance, bend limits, labeling, and acceptance evidence.
A coaxial cable is a transmission line with a center conductor, dielectric, shield, and jacket arranged around the same axis. Characteristic impedance is the transmission-line value created by that geometry, and the public overview of characteristic impedance is useful for non-RF stakeholders because it explains why a cable can pass continuity and still fail signal performance. In procurement terms, the diagram must protect that geometry through cutting, stripping, termination, strain relief, and final inspection.
A coax drawing that only says BNC to BNC is not a wiring diagram. I need impedance, cable part number, strip or termination method, shield bond rule, contact orientation, and test evidence before I can treat it as a production release.
— Hommer Zhao, Engineering Director
Basic Coaxial Cable Wiring Diagram Anatomy
The simplest coax wiring diagram has three visible layers: the center conductor route, the shield return or shield bond, and the connector interface at each end. If the assembly is a single coax jumper, the center conductor usually connects from center contact to center contact. The shield usually connects from shell to shell, ferrule to ferrule, or braid to connector body. That sounds simple until the product has a bulkhead connector, right-angle connector, mixed connector family, overmold, floating shield, chassis-only bond, or micro-coax board connector.
Use the drawing to identify the contact from the mating face and from the cable-entry side. These views are not interchangeable. A diagram should state the view direction next to each connector, for example "mating face view" or "wire entry view." For BNC and SMA jumpers, this prevents gender and orientation mistakes. For micro-coax board connectors, it prevents mirrored pin maps during sample build.
The diagram should also show the length datum. A coax assembly measured tip-to-tip is not the same as a cable measured between connector reference planes or overmold exits. In short builds such as the 100mm micro-coax recovery case, a few millimeters of datum confusion can change routing strain, bend radius near the connector, and the fixture setup used during electrical testing.
For broader cable construction context, see our coaxial cable assembly guide. For cable datasheet review, the companion article on how to read a coaxial cable datasheet explains impedance, attenuation, velocity factor, shielding, and bend-radius fields before the wiring diagram is released.
Fields Every RFQ Diagram Should Include
A buyer-ready coaxial cable wiring diagram should include the fields below. If one is unknown, mark it as a controlled TBD item instead of leaving the supplier to guess. A blank field often becomes a hidden quote assumption.
| Diagram field | What to specify | Why it affects production | Evidence to request |
|---|---|---|---|
| Impedance | 50 ohm, 75 ohm, or exact controlled value | Drives cable, connector, fixture, and RF test choice | Datasheet plus sample impedance or VSWR report |
| Connector view | Mating face, wire entry, straight, right-angle, bulkhead, or panel mount | Prevents mirrored contact assignment and wrong gender approvals | Marked drawing and first article photos |
| Shield termination | 360-degree crimp, solder sleeve, drain wire, floating shield, or chassis bond | Controls EMI behavior, ground loops, and connector strain | Work instruction, section photo, continuity or isolation result |
| Length datum | Tip-to-tip, reference plane, cable cut length, or overmold exit-to-exit | Changes routing fit, strip length, test fixture setup, and tolerance stack | Inspection drawing with measurement method |
| Workmanship standard | IPC-A-620 class expectation and buyer-specific additions | Defines visual acceptance for braid damage, insulation, labels, and termination | Inspection report with photo checkpoints |
| Cable traceability | UL-758 style, cable part number, lot number, or approved equivalent | Prevents unapproved cable substitution after sampling | COC, label photo, incoming inspection record |
Use IPC-A-620 as the workmanship reference for cable and wire harness acceptance, including conductor damage, insulation condition, shield handling, and final assembly appearance. Use UL-758 language when cable style, insulation system, voltage rating, or material traceability must be preserved. These references do not replace the buyer drawing; they define the baseline that the drawing can tighten.
The most useful coax wiring diagrams show the shield as an intentional circuit element. If the shield is omitted from the drawing, the factory may still build a cable, but nobody knows whether the shield should float, bond at one end, or bond through both connector shells.
— Hommer Zhao, Engineering Director
How to Show Shield Termination Without Ambiguity
Shield termination is where many coax diagrams fail. A shield can be electrically continuous through both connector bodies, bonded only at one end, isolated from chassis, connected to a drain wire, captured under a crimp ferrule, soldered to a cup or shell, or transitioned through an overmold. Each option can be correct in a specific system. The risk is letting the supplier infer the rule from a photo or sample.
For factory-built RF jumpers, a 360-degree shield capture under the correct ferrule is often preferred because it preserves shielding and mechanical retention around the cable circumference. For video or instrumentation harnesses inside an enclosure, a drain wire or single-ended shield bond may be used to manage noise paths. For outdoor or washdown coax assemblies, shield termination must also survive sealing, adhesive heat shrink, overmold pressure, and jacket compatibility checks.
Draw the shield as a separate line or callout, even if the center conductor is the only signal path. State whether shield-to-shell continuity is required and whether shield-to-center isolation is tested at 100% final inspection. If the shield should connect to chassis at only one end, mark the end clearly and state the acceptable isolation value or test method for the floating end.
Shield decisions should be aligned with cable routing and EMI expectations. Our EMI shielding guide covers braid, foil, and combination shielding for broader harnesses, while our custom coaxial cable assembly service shows the RFQ inputs a cable factory needs before quoting controlled-impedance builds.
Shield termination comparison for wiring diagrams
| Shield option | Where it fits | Diagram callout to add | Factory check |
|---|---|---|---|
| 360-degree ferrule crimp | Repeat RF jumpers, BNC/SMA cable assemblies, shielded sensor leads | Ferrule part number, strip length, shield fold-back rule, both-end shell continuity | Visual braid capture plus continuity from shell to shell on 100% of units |
| One-end chassis bond | Instrumentation harnesses where noise path control matters | Bonded end, floating end, chassis symbol, isolation requirement | Continuity at bonded end and isolation at floating end before packing |
| Drain wire transition | Mixed harnesses that route coax shield into a connector cavity or ground terminal | Drain wire gauge, splice method, termination cavity, sleeve coverage | Pull check, insulation coverage check, and shield-to-drain continuity |
| Floating shield | Special sensor or measurement systems where the shield must not bond to shell | Clear "no connection" mark and minimum isolation value | Isolation test between shield and shell at the defined test voltage |
| Overmolded shield capture | Outdoor, washdown, or strain-sensitive coax cable assemblies | Shield preparation, mold datum, jacket compatibility, leak or pull requirement | First-article section review, pull test, and sealing inspection when specified |
Common Connector Diagram Examples
BNC wiring diagram
A BNC wiring diagram should separate 50 ohm and 75 ohm requirements, cable plug versus bulkhead jack, and crimp versus compression or clamp termination. The center contact should be shown from the correct connector view, and the braid or shield should be shown connecting to the connector body through the approved ferrule or clamp. If the system is CCTV, broadcast, test equipment, or instrumentation, state the cable family and impedance instead of using "BNC cable" as the whole specification. The BNC connector types guide explains the procurement risk behind that split.
SMA wiring diagram
An SMA diagram should name standard SMA or RP-SMA, straight or right-angle body, frequency range, cable group, and torque or mating expectations if the application is test equipment, antenna feed, or wireless module integration. SMA connector bodies are small enough that cable OD, dielectric diameter, and strip dimensions matter directly. For custom programs, review the diagram with the supplier before approving the connector part number. Our SMA connector cable assembly page lists common RFQ inputs.
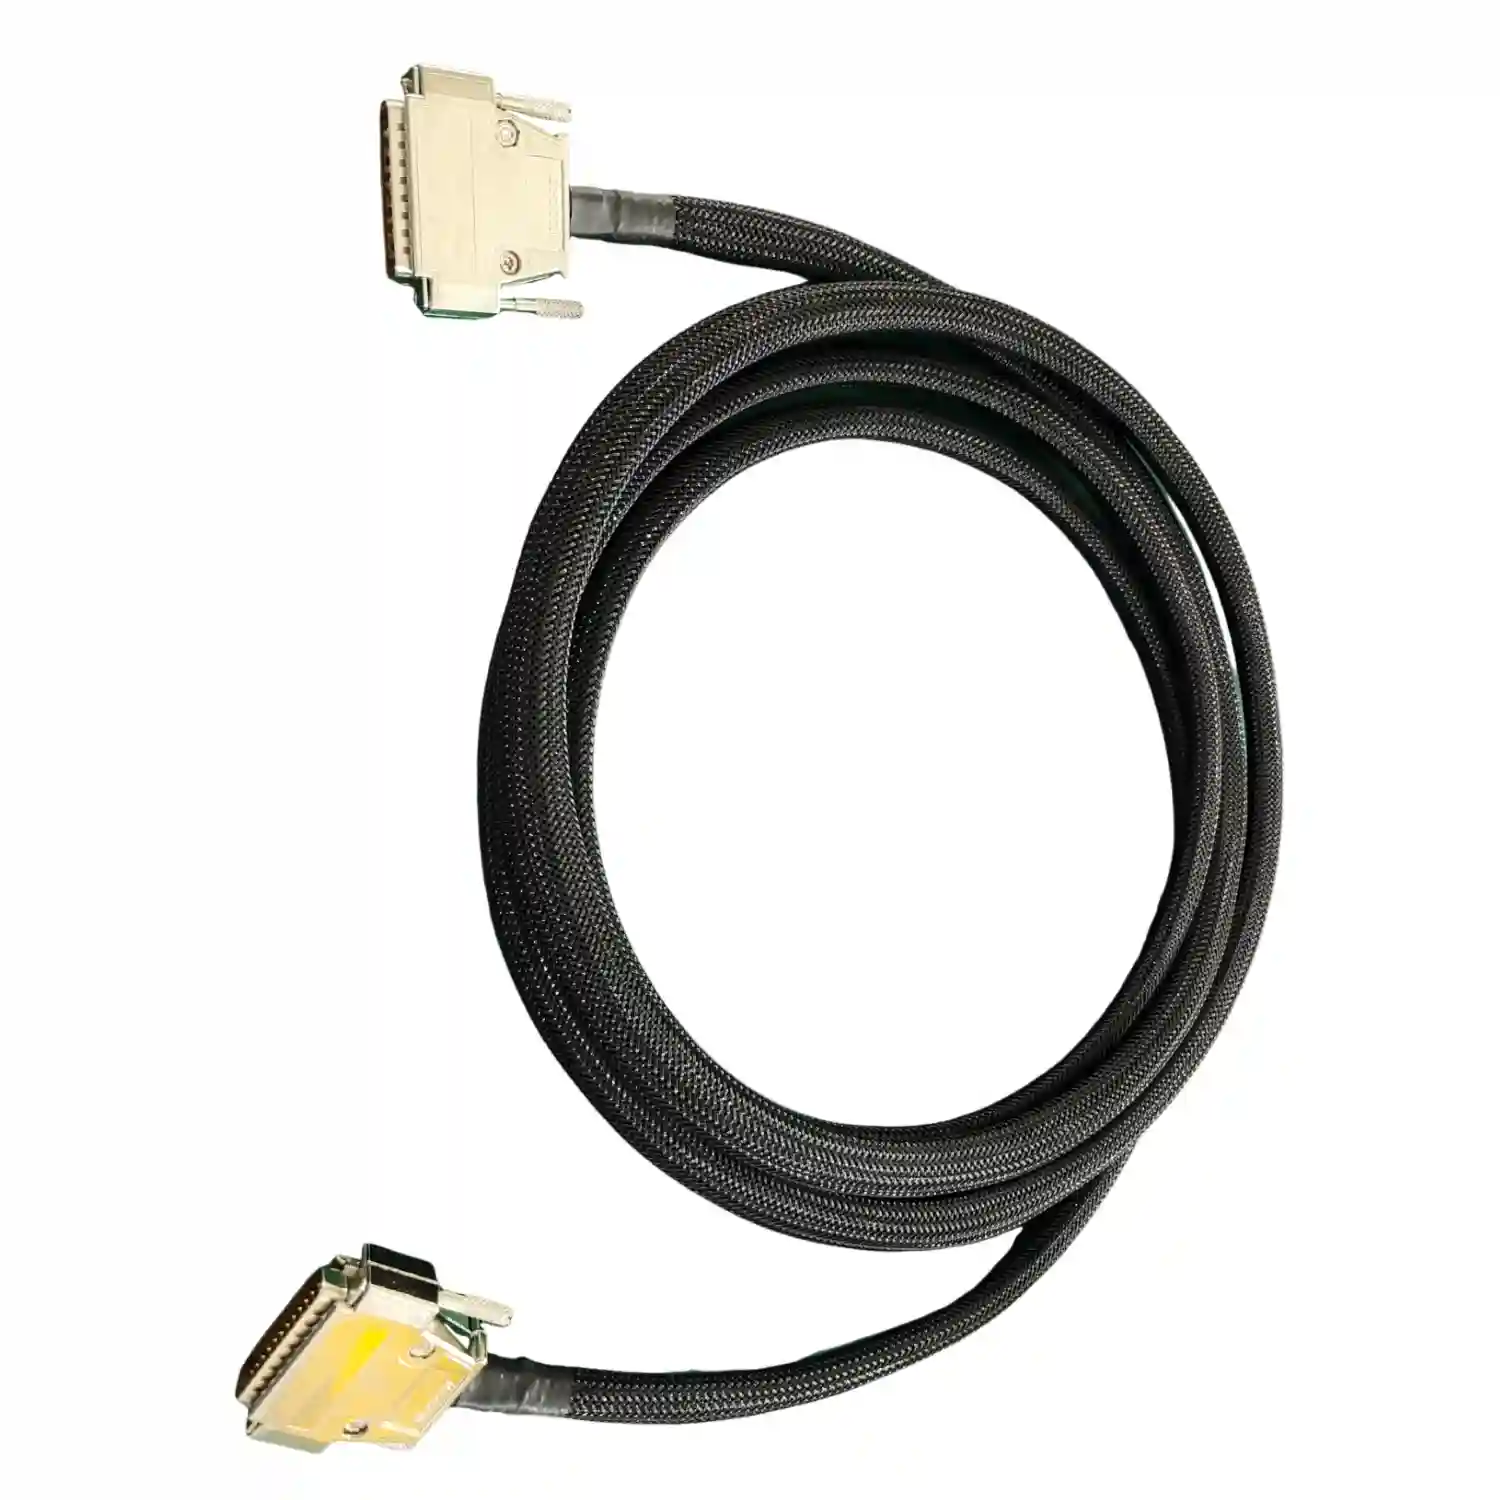
Micro-coax wiring diagram
A micro-coax diagram must define pin order, cable length, connector series, wire gauge, fold direction, strain relief, and electrical test method. In the recovery case, the critical numbers were AWG#40, CABLINE-VS 1:1, 100mm length, 1296 defective units out of 2000, and 1296 replacement units. That problem was not solved by a prettier diagram alone. It was solved by aligning the drawing, specification definition, testing method, and report format before replacement production.
For micro-coax, I treat the test fixture as part of the wiring definition. On a 100mm AWG#40 assembly, a vague pinout can become a fixture dispute, and a fixture dispute can look like a cable defect.
— Hommer Zhao, Engineering Director
Pre-Production Review Checklist
Before releasing a coaxial cable wiring diagram to quote or build, run a short cross-functional review. Engineering should confirm the signal path, impedance, connector orientation, shield logic, and bend limits. Procurement should confirm the exact cable and connector part numbers, approved alternates, MOQ, lead time, and whether supplier substitutions require written approval. Quality should confirm inspection points, sample size, first article evidence, and which measurements are 100% production checks.
A practical release package includes the wiring diagram, cable datasheet, connector datasheet, BOM, approved equivalent rules, label drawing, packaging notes, and test report template. For RF or high-speed builds, add TDR, insertion loss, return loss, VSWR, or fixture alignment requirements when those values matter to the system. For general coax jumpers, continuity, isolation, shield continuity, visual inspection, and length checks may be enough, but the drawing should say so.
Do not put every risk into a supplier email. Put the recurring requirements into the drawing or controlled specification. Emails help clarify samples; drawings control repeat orders. That is the difference between a one-time prototype conversation and a stable production cable assembly.
Frequently Asked Questions
What should a coaxial cable wiring diagram show?
It should show the center conductor, shield, connector type, connector view direction, length datum, impedance target, shield termination, and test requirement. For a 50 ohm or 75 ohm RF assembly, leaving out impedance or shield treatment creates a real risk even if continuity passes.
Is a coax wiring diagram the same as a pinout?
No. A pinout lists contact assignment, while a coax wiring diagram should also define shield handling, cable construction, connector orientation, length tolerance, and inspection evidence. For micro-coax assemblies such as AWG#40 100mm builds, the diagram and test method must match.
Should the shield connect at one end or both ends?
It depends on the system. Many RF jumpers bond the shield through both connector bodies, while some instrumentation harnesses use a one-end chassis bond or floating shield to control noise paths. The diagram should state the rule and the continuity or isolation test value.
Can a coax cable pass continuity and fail RF performance?
Yes. Continuity confirms a conductive path, but it does not prove 50 ohm or 75 ohm impedance, insertion loss, return loss, VSWR, or shield effectiveness. The 1296 defective units out of 2000 recovery case showed why the test definition matters before volume release.
Which standards should I cite on a coax assembly drawing?
Use IPC-A-620 for cable and harness workmanship criteria, and use UL-758 where wire or cable construction, insulation rating, or traceability is part of the buyer requirement. Add project-specific RF tests such as TDR or VSWR when the electrical path requires them.
What information should I send a supplier for a coax cable RFQ?
Send the wiring diagram, cable part number, connector part numbers, impedance, length and tolerance, shield termination rule, quantity, operating environment, label requirements, and test report template. If the design is not final, label each TBD item clearly before the supplier quotes samples.
When should I use a custom coaxial cable assembly instead of a catalog cable?
Use a custom assembly when length, connector mix, shield treatment, overmold, label, routing, IP sealing, impedance evidence, or packaging must match an OEM drawing. A catalog cable may work for lab use, but production programs usually need controlled drawings and repeatable test evidence.
Need a Coax Wiring Diagram Reviewed Before RFQ?
Send the cable datasheet, connector part numbers, target impedance, length requirement, shield termination rule, and expected test evidence. Our engineering team can review whether the diagram is buildable, whether the supplier assumptions are exposed, and which inspection points should be locked before samples.