A European thermal imaging OEM experienced a critical production halt due to high impedance defects in a micro-coaxial cable assembly used for a beta production series; the bend and routing lesson is severe because the case-bank challenge records that 1296 out of recently units of fine-gauge wire fine micro-coax 1:1 100mm micro-coax assemblies failed due to high impedance, leading to order cancellation, refund pressure, and a trust gap. The concrete numbers stay quoted exactly from the anonymized case bank: fine-gauge wire, fine micro-coax 1:1, 100mm length, a portion of units found nonconforming units out of recently, 1296 replacement units.
Coaxial cable bend radius and routing are production controls, not only mechanical layout details. A coax assembly can pass continuity while a tight exit bend, crushed clamp, short service loop, or unsupported connector launch changes impedance enough to create VSWR, return-loss, TDR, or high-impedance complaints. This guide is written for RF engineers, mechanical engineers, quality engineers, and sourcing teams who already know the connector family and now need to release a manufacturable routing rule for prototypes, pilot lots, or supplier transfer.
TL;DR
- Use the cable datasheet bend radius first; use 5x OD to 10x OD only as an early screen.
- Protect a 10mm to 25mm no-bend zone behind small RF connectors unless the connector datasheet gives another rule.
- Separate static routing, repeated service movement, and continuous flex; they need different acceptance evidence.
- Clamp the jacket without ovalizing the dielectric or braid; compression can become an RF defect.
- Pair routing approval with IPC-A-620 workmanship evidence, UL-758 traceability, and RF test reports.
Background: The Buyer Stage Where Bend Radius Gets Missed
This article is for teams buying custom coaxial cable assemblies, SMA cable assemblies, BNC jumpers, FAKRA leads, antenna pigtails, micro-coax links, or RF harness branches routed through compact equipment. The buying stage is usually RFQ, design transfer, first article, or recovery after a marginal RF test result. The drawing may already show connector ends and cable length, but the real installed path is still controlled by brackets, clamps, service loops, enclosure covers, and installer handling.
The role behind this guide is senior factory engineering with more than 10 years reviewing coax drawings, connector terminations, shield preparation, overmold exits, clamp plans, packaging coils, and RF complaint recovery files. The objective is narrow: give the buyer a way to specify bend radius and routing evidence before the supplier builds parts that look correct in photos but fail on the equipment bench.
Coaxial cable bend radius is the smallest allowable curve a coax cable can follow without damaging its geometry or shifting RF behavior beyond the approved limit. A no-bend zone is a straight section behind a connector, overmold, boot, or ferrule where the cable should not be forced into a curve. RF cable routing is the controlled path, support, clearance, and service-loop plan that keeps the finished assembly inside its electrical and mechanical release window.
The technical basis starts with coaxial cable geometry and transmission line behavior: impedance depends on the relationship between the center conductor, dielectric, shield, and jacket. For workmanship and traceability language, many OEM drawings cite IPC-A-620 for cable and harness acceptance evidence and UL-758 when the wire or cable style record is part of the approval package. RF programs may also reference MIL-DTL-17 for qualified coaxial cable constructions or IEC 61169 for connector-interface discipline.
A bend-radius note is only useful if the installed cable can actually obey it. I want the drawing to show the first clamp, the connector exit, and the real enclosure clearance, not just a cable part number.
What Tight Bends Do to Coaxial Cable Assemblies
A coaxial cable works because the center conductor stays concentric inside the dielectric and shield. Tight bending can deform that relationship. In flexible coax, the braid can bunch on the inside of the bend, open slightly on the outside, or press into the jacket. In semi-flexible or semi-rigid coax, one extra hand bend can create a local geometry change that remains locked into the part. In micro-coax, a small exit bend can shift the conductor or damage a fine shield before the operator sees obvious visual damage.
That damage may not show up in a simple continuity test. Continuity proves the conductor and shield path are connected. It does not prove the cable still looks like a controlled-impedance path. For RF assemblies, bend damage often appears as worse return loss, higher VSWR, increased insertion loss, or a TDR discontinuity near the connector exit. The same risk is covered from the test side in our RF cable assembly testing guide.
The practical first screen is cable OD. Many engineering teams start with 5x cable OD for static routing and 10x cable OD or larger for repeated movement, but that is only a screening rule. The cable datasheet, connector datasheet, installed environment, and customer RF limit override generic ratios. A 3.0mm OD cable at 5x OD implies a 15mm radius; at 10x OD it needs 30mm. Those numbers can decide whether a bracket must move before first article.
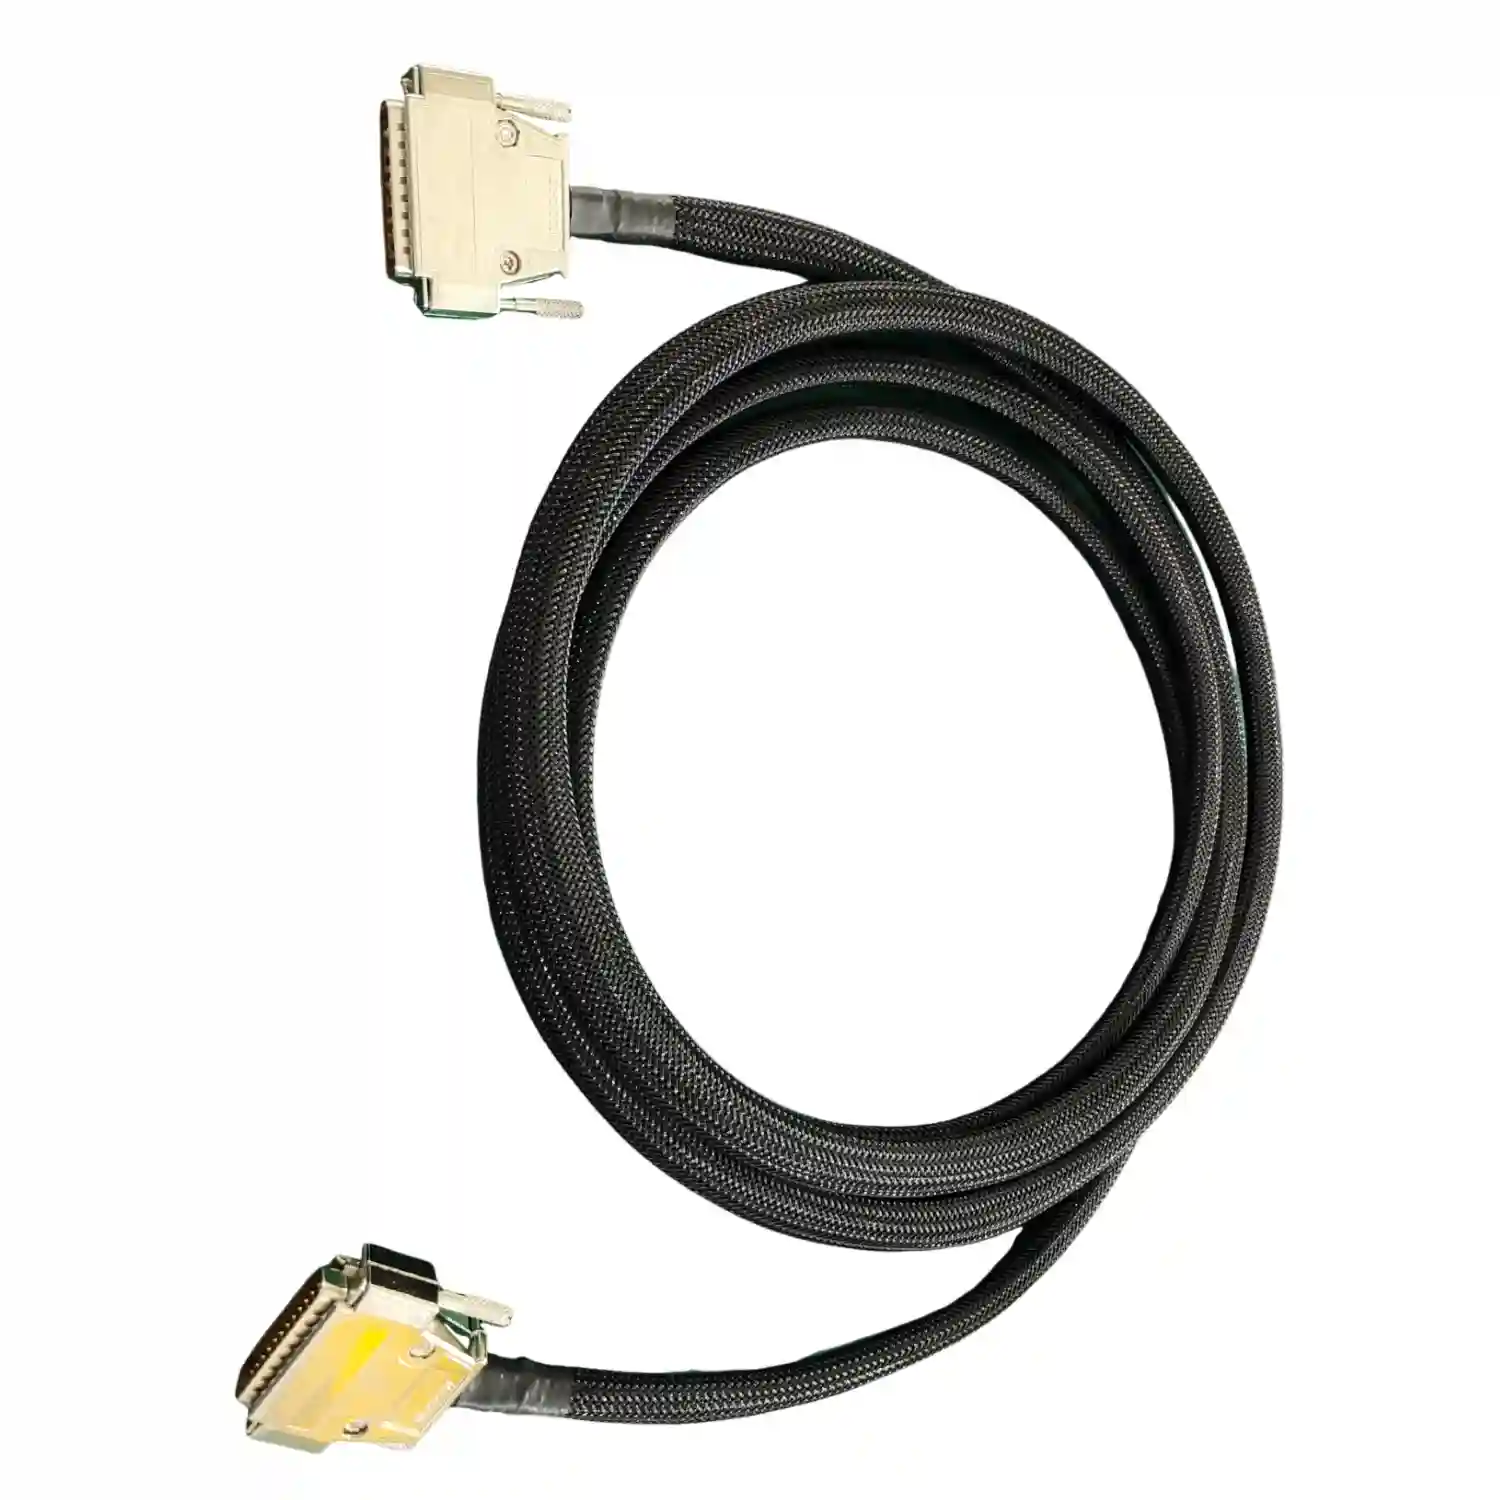
The connector exit deserves its own rule. For small SMA, MMCX, MCX, I-PEX, Hirose, FAKRA, or micro-coax interfaces, we often ask for a straight no-bend zone of 10mm to 25mm from the connector shoulder, overmold exit, or strain-relief boot unless the connector supplier gives a stricter requirement. That zone prevents the bend load from concentrating at the ferrule, solder cup, shield fold, crimp sleeve, or fine-pitch contact transition.
Static, Service, and Dynamic Routing Comparison
Use this table during RFQ review. It separates routing types because a single "minimum bend radius" line cannot cover every installation pattern.
| Routing Situation | First-Pass Bend Rule | Main Factory Risk | Evidence to Request | Buyer Decision |
|---|---|---|---|---|
| Fixed internal jumper | Datasheet value, often screened near 5x OD for static use | Connector-exit stress after cover installation | Installed photo, no-bend zone check, continuity, VSWR or return loss | Approve if the final enclosure path still matches the drawing |
| Installer-routed antenna lead | Datasheet value plus extra service slack | Field installer pulls the cable around a sharp bracket | Routing instruction, clamp location, jacket inspection, first-article RF report | Use a service loop and visible clamp points |
| Micro-coax camera or display link | Connector-specific rule; small changes matter on 50mm to 150mm builds | Exit bend damages shield or changes impedance near the launch | TDR trace, microscope photos, length datum, 10mm to 25mm no-bend zone | Freeze fixture and measurement window before pilot |
| Semi-rigid formed RF path | Controlled formed radius from drawing or forming fixture | Re-bending creates work hardening or route variation | Forming fixture record, envelope measurement, return-loss report | Do not use if the route is still changing each prototype build |
| Vibration zone near motor or vehicle body | Datasheet value plus strain relief and support spacing | Clamp transfers vibration into the connector termination | Clamp material, first support distance, pull or retention check, RF retest after handling | Move support load into jacket, not contact or shield termination |
| Repeated motion or carrier path | Dynamic bend rating from cable supplier, often larger than static rule | Using a "flexible" cable that is not rated for repeated cycles | Cycle-life claim, bend radius, travel profile, shield continuity, RF trend data | Specify dynamic service separately from ordinary installation flexibility |
How to Specify Bend Radius on the Drawing
The drawing should state the cable part number, finished length datum, connector orientation, minimum static bend radius, any dynamic bend requirement, no-bend zone behind each connector, and the first support point. If the route goes through a panel, grommet, bulkhead, hinge, mast, instrument cavity, or bracket, include that geometry. A supplier cannot protect the bend rule if the drawing only says "route as shown" without a real radius or clearance.
For simple fixed jumpers, the drawing can use a note such as: "Minimum installed bend radius per cable datasheet; no forced bend within 15mm of connector shoulder; supplier to provide first-article installed routing photo and RF report." For micro-coax, use a tighter note: "No bend within 10mm of connector exit; TDR impedance window and fixture ID required on first article." For semi-rigid coax, replace generic bend text with formed centerline dimensions, bend radius, clocking, and envelope tolerance.
Length datum must be controlled at the same time. A 100mm coax cable measured tip-to-tip is not the same part as a 100mm cable measured between connector reference planes, shell shoulders, or overmold exits. If the length datum moves by 3mm to 5mm on a compact assembly, the cable can lose its service loop and bend sharply against the enclosure. Our coaxial cable wiring diagram guide covers datum and pin-view control in more detail.
When a 100mm micro-coax build fails, I check the length datum and connector exit before blaming the cable reel. A 5mm routing error can remove the entire strain-relief margin on a small assembly.
Clamps, Boots, Overmolds, and Packaging
Routing control does not end when the cable leaves the connector. Clamps can protect the assembly or damage it. A clamp should hold the jacket without flattening the cable body. If the clamp turns a round coax into an oval section, the dielectric and shield geometry may change even though the part looks neatly installed. Use soft inserts, wider saddles, or overmolded support when the cable OD is small and the installation sees vibration.
Boots and overmolds are useful when they distribute bend load over a longer transition. They are not a license to bend immediately behind the connector. A boot that is too stiff can simply move the stress to the first flexible point. For micro-coaxial cable assemblies, ask for exit photos under magnification and confirm that the boot or heat shrink does not hide shield damage or a kink at the connector launch.
Packaging is part of bend-radius control. A finished RF cable can leave final inspection acceptable and arrive damaged if it is tied below its minimum coil diameter, packed under a heavy connector bundle, or forced into a carton corner. The packing note should define coil diameter, bagging, connector caps, label position, and whether each cable ships individually. For a 3.0mm OD flexible coax screened at 10x OD dynamic radius, a coil that forces a 20mm radius contradicts the release plan.
Buyers should also separate shop handling from field handling. The supplier can build parts under a controlled work instruction, but field installers may pull cables through a panel or rotate a connector after it is tightened. If field handling is expected, include a service-loop drawing and a short routing instruction with the assembly. That document often prevents more defects than another line in the purchase order.
Test Evidence After Routing Approval
A strong first-article package should include drawing revision, cable and connector lot traceability, approved bend-radius note, no-bend-zone photo, clamp or support photo, visual workmanship inspection, continuity report, and RF evidence when the assembly carries a controlled signal. For antenna, transmitter, receiver, instrumentation, or calibrated systems, add VSWR or return-loss data across the operating band. For longer runs or tight link budgets, add insertion loss. For micro-coax and short controlled-impedance links, add TDR evidence with fixture and measurement window stated.
IPC-A-620 evidence should cover conductor damage, insulation nicks, shield preparation, connector seating, ferrule condition, strain relief, label placement, and any handling damage caused by the route. UL-758 evidence should stay tied to the cable construction when the BOM calls for a specific wire or cable style, temperature rating, voltage rating, or insulation system. The route should not silently force a substitute cable because the approved part "almost fits."
When a routing dispute appears, do not sort parts by visual inspection alone. Retest at least 5 retained samples in three states: free cable, installed in the intended route, and handled through the expected service motion if that applies. If the RF result changes only after installation, the defect is probably route, clamp, bend, or connector-exit stress rather than a basic termination error.
For RF cables, I like before-and-after evidence: free-state RF test, installed routing photo, then the same RF limit after the bend and support are applied. That exposes clamp and exit problems early.
RFQ Checklist for Coax Bend Radius and Routing
- Exact cable part number, impedance, OD, jacket material, and datasheet bend-radius line
- Connector series, gender, orientation, bulkhead or inline style, and approved strip dimensions
- Finished length datum, tolerance, and whether electrical length matters
- Static route drawing with radius, clearance, first clamp, and no-bend zone
- Dynamic motion requirement if the assembly sees repeated movement, hinge travel, or service loops
- RF acceptance: continuity, VSWR, return loss, insertion loss, TDR, or customer-defined limit
- Standards and records: IPC-A-620 workmanship, UL-758 traceability, MIL-DTL-17 cable reference if specified
- Packaging rule: minimum coil diameter, connector protection, carton orientation, and label placement
If you are still choosing the cable family, compare this checklist with our coaxial cable datasheet guide. If the geometry is fixed but the assembly still fails RF test, compare the release package against our 50 ohm vs 75 ohm impedance guide and the RF test plan.
Frequently Asked Questions
What is a safe bend radius for coaxial cable assemblies?
Start with the cable datasheet. As an early screen, many teams use about 5x cable OD for static routing and 10x cable OD or larger for repeated movement, but the approved cable, connector, and RF limit override that shortcut. IPC-A-620 workmanship evidence should confirm the bend did not damage jacket, insulation, shield, or termination.
How close can a coax cable bend to an SMA connector?
For small RF connectors, a practical starting point is a 10mm to 25mm no-bend zone from the connector shoulder, boot, or overmold exit unless the connector datasheet gives a stricter value. SMA assemblies should also keep VSWR or return-loss evidence tied to the same installed route.
Can a coax cable pass continuity but fail because of bend radius?
Yes. Continuity can pass while a tight bend creates an impedance discontinuity, higher VSWR, worse return loss, or a TDR defect near the bend. That is why controlled RF paths need more than 100% continuity when the operating band, link margin, or customer specification requires RF evidence.
Should static and dynamic coax routing use the same bend rule?
No. Static routing may pass with a datasheet static bend limit, while dynamic routing needs a cable construction rated for repeated motion under a stated radius, travel length, and cycle condition. A 10x OD screening rule is not a substitute for a dynamic flex claim or supplier validation data.
What standards should a coax routing drawing cite?
Use IPC-A-620 for cable and harness workmanship acceptance, UL-758 when cable construction traceability is required, MIL-DTL-17 when the design specifies qualified coaxial cable construction, and IEC 61169 when connector-interface discipline is part of the RF requirement. The drawing still needs numeric bend radius and no-bend-zone limits.
What should suppliers include in a coax routing first-article report?
A useful report includes drawing revision, cable lot, connector lot, finished length, bend-radius check, no-bend-zone photo, first clamp location, continuity result, and RF data such as VSWR, return loss, insertion loss, or TDR. For compact 100mm micro-coax builds, add fixture ID and measurement window.
Next Step
Coax bend-radius control should be released before sample build, not corrected after the first failed RF report. Send your drawing, cable part number, connector series, finished length, route sketch, operating frequency, and target test evidence through our contact page. We can review whether the routing plan protects the cable geometry before prototype or production release.